
Checking on Kaisa
I wanted to see how the conditions in the rear of the truck changed over time and when the sensors last reported. I also considered a heated blanket for Kaisa’s resting area in cold weather. That idea has its own temperature monitoring and power requirements.
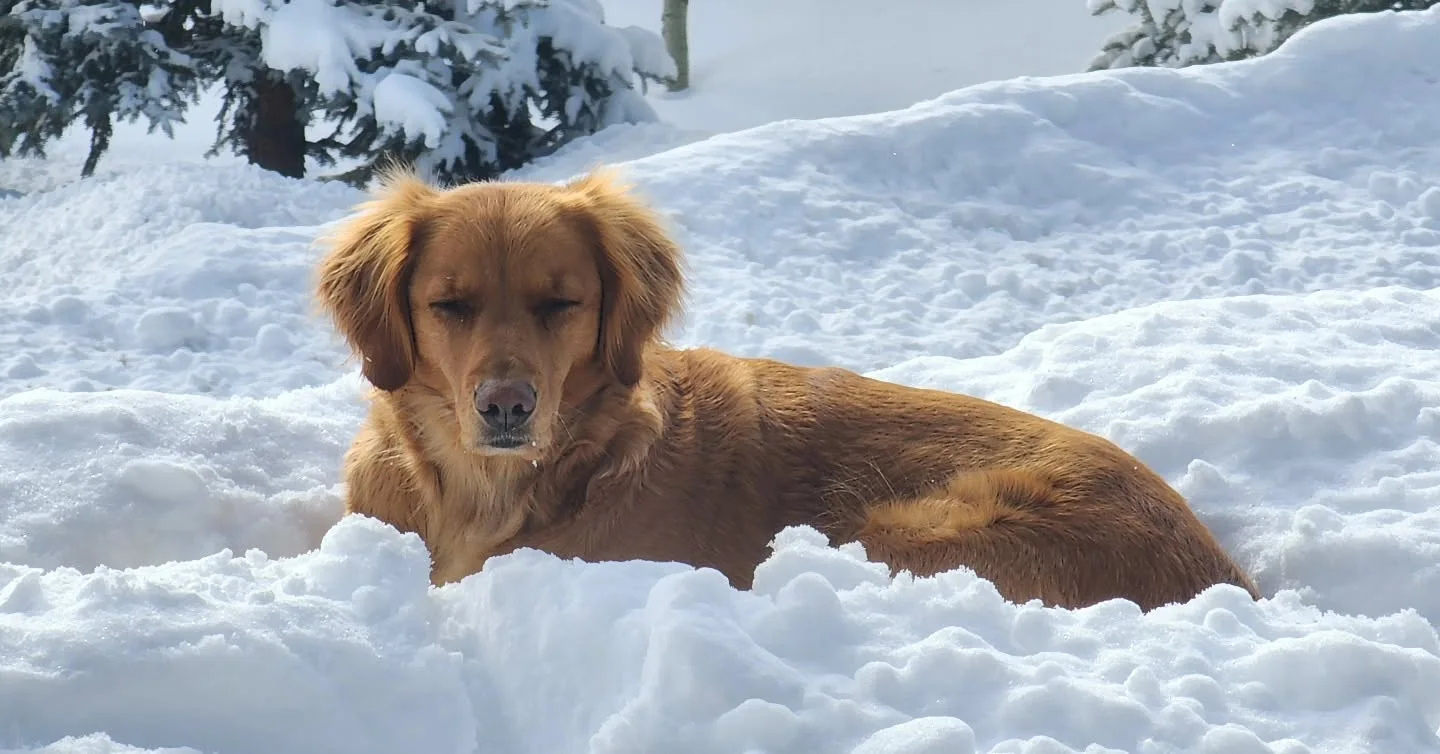
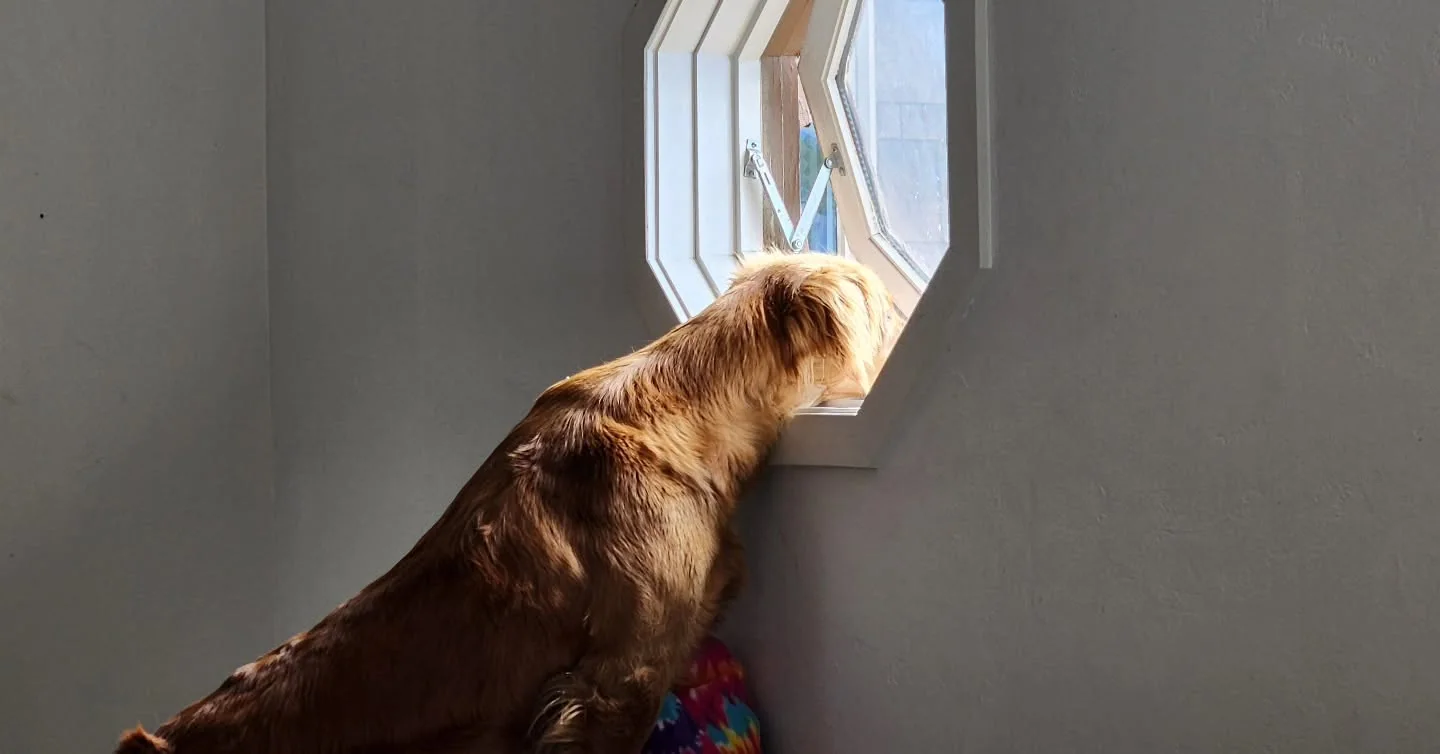
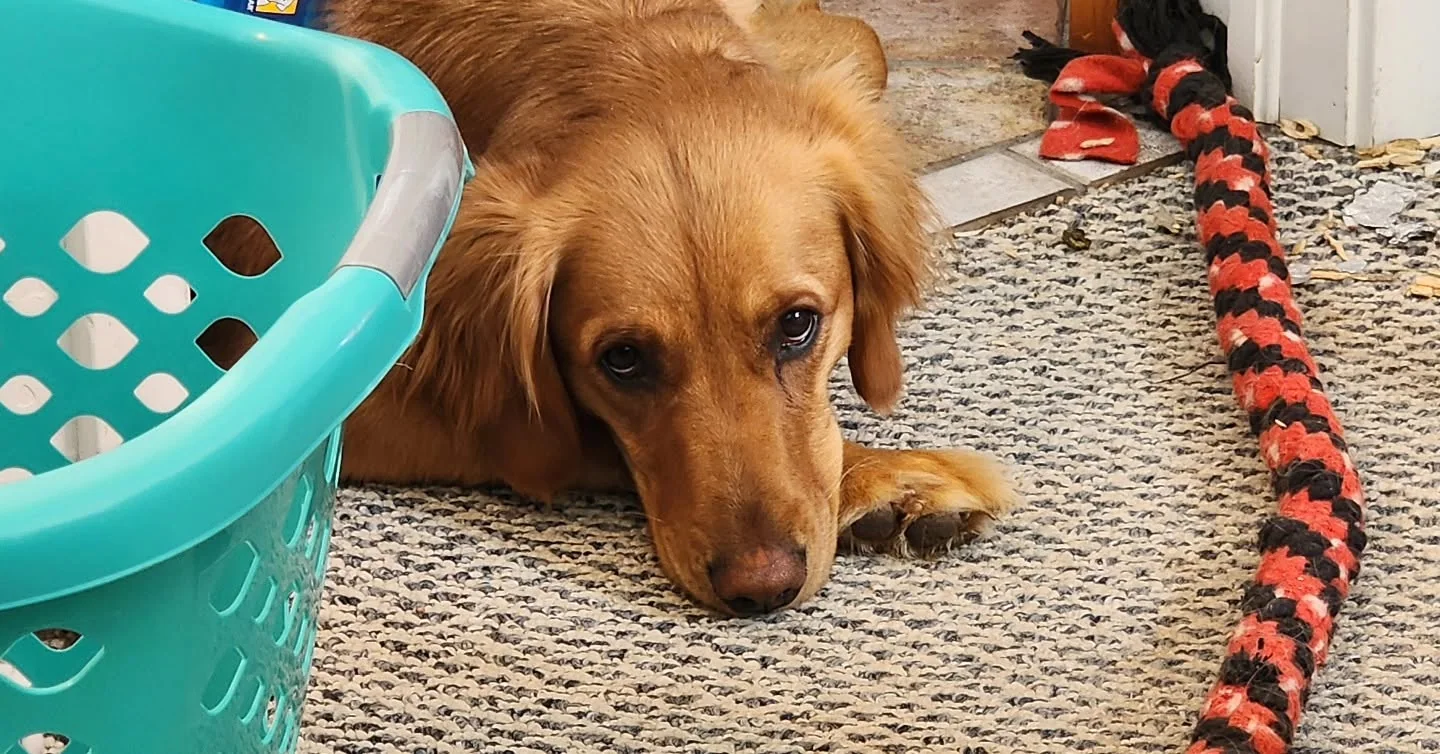
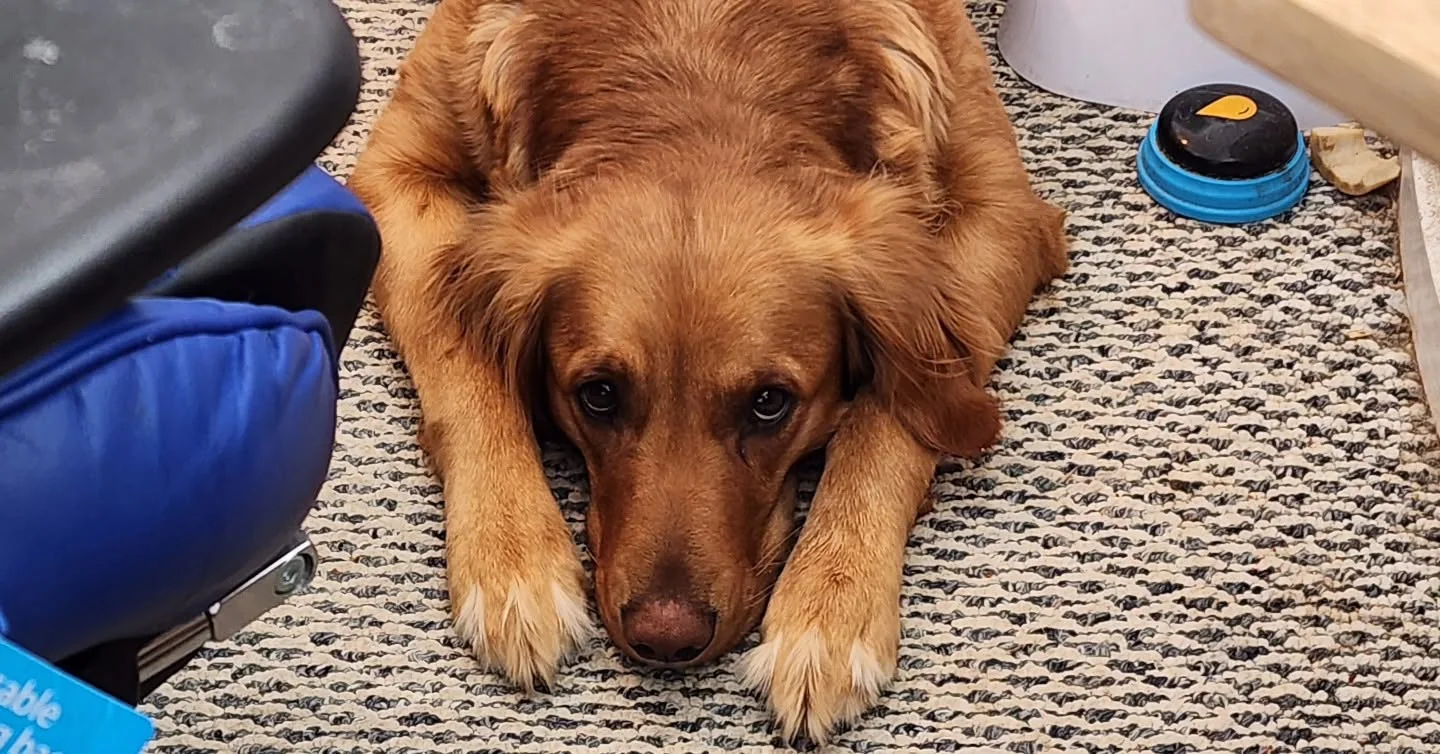
Meet Kaisa
These are a few of my favorite moments with Kaisa—the reason PetGuardian began.
Cabin sensors and cameras
| Subsystem | Components and role |
|---|---|
| Cabin temperature and humidity | DS18B20 temperature probes for individual spots and an SHT30 for ambient temperature and humidity. I wanted a reading near the rear platform where Kaisa would lie. |
| Gas sensing | I included MQ-135 and MQ-9 modules in my sensor experiments to look at changes in the cabin readings. |
| Thermal camera | I explored the 8 × 8 AMG8833 array and picked up a 32 × 24 MLX90640 to map temperatures across Kaisa’s resting area. |
| Visible-light camera | The Raspberry Pi AI Camera uses a Sony IMX500. I wanted it for a normal cabin view and to experiment with on-camera detection of Kaisa. I also considered a pan-and-tilt mount. |
Checking from work
I designed the nRF24 radio link around small status messages I could check from work, with cabin temperature, humidity, alerts, and the time of the last update. Once the hardware is together, I can test the range. I explored the remote camera view as a separate feature.
The carputer and vehicle node
The local dashboard targets a Raspberry Pi 3 Model B and a seven-inch touchscreen, with cabin sensors and vehicle data on separate nodes. The power design includes a CarPiHAT, ignition sensing, and an orderly shutdown, with battery draw while parked to measure during installation.
On the vehicle side I worked with a Freematics OBD-II adapter and an Arduino Mega, plus GPS and motion readings from an accelerometer and gyroscope. I set up the firmware and app around separate USB serial messages for GPS, motion, and node health. The dashboard can use those messages while I work through the Land Cruiser’s OBD compatibility.
Dashboard and trip recording
I used C# and Avalonia for the dashboard and set up a background recorder for timestamped telemetry, with GPS route exports as GPX and GeoJSON. I used AI assistance on the app refactor and firmware scaffolding.